In today's digital era, where efficiency and speed are critical, maintaining the performance of your computer is essential. One effective way to optimize the system speed and responsiveness is by clearing out cache & junk files. In this comprehensive article, you will learn various methods to clear all cache & junk files from Windows, resulting in a faster and more efficient computer.
Before diving into the methods, you should have an understanding of what Cache & Junk files are. Cache files are temporary files stored by various applications to shorten the loading times. However, over time, these cache files can become outdated and clutter your system. Junk files, on the other hand, are unnecessary files such as unused system files, temporary internet files, and leftover program installations.
Now, let us explore the methods to clear the Cache & Junk from Windows step by step.
Disk Cleanup
Disk Cleanup is a handy tool for basic junk removal. This method scans your drive, identifies unnecessary files, and frees up disk space, thereby boosting the computer's performance by reducing clutter. Follow these steps to use Disk Cleanup.
1. Access Disk Cleanup
- You can access Disk Cleanup using the
Run windowor thesearch bar.
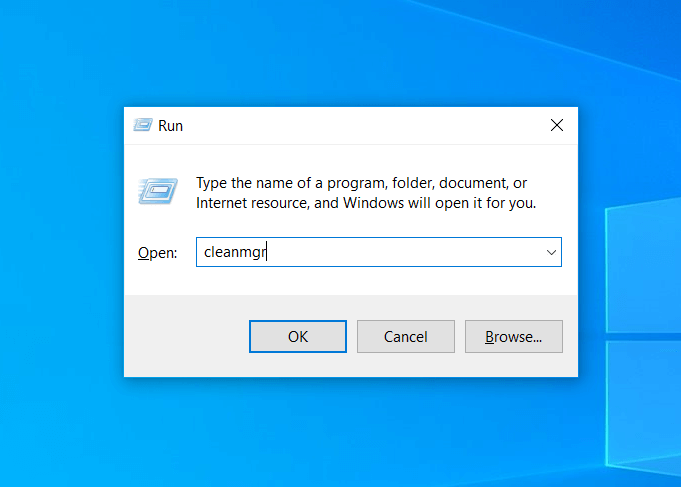
- To use the Run window, press the
Windows key + R keytogether, typecleanmgr,and clickOK.
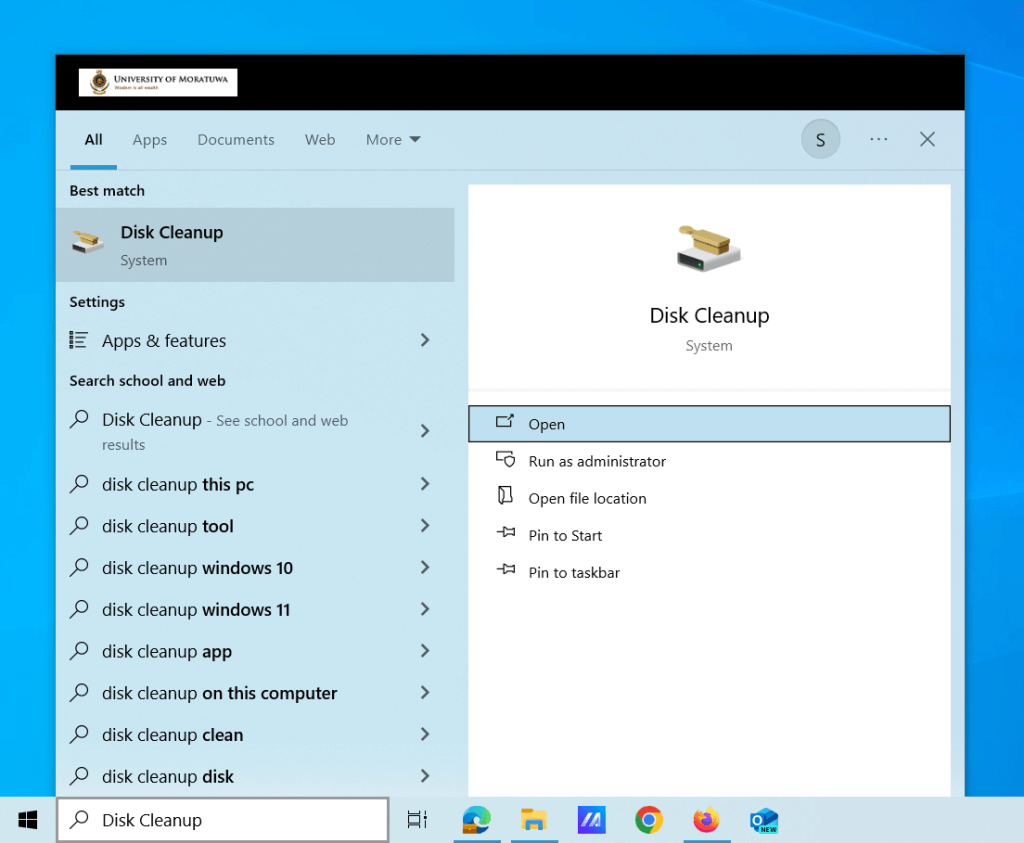
- You can search for Disk Cleanup in the search bar and access it as well.
2. Select Drive
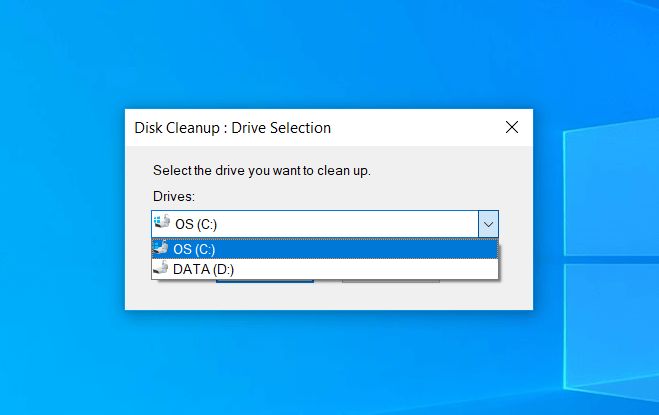
- Choose the drive where the Operating System is installed, usually, the C drive, and then click
OK.
3. Choose Cleanup Options
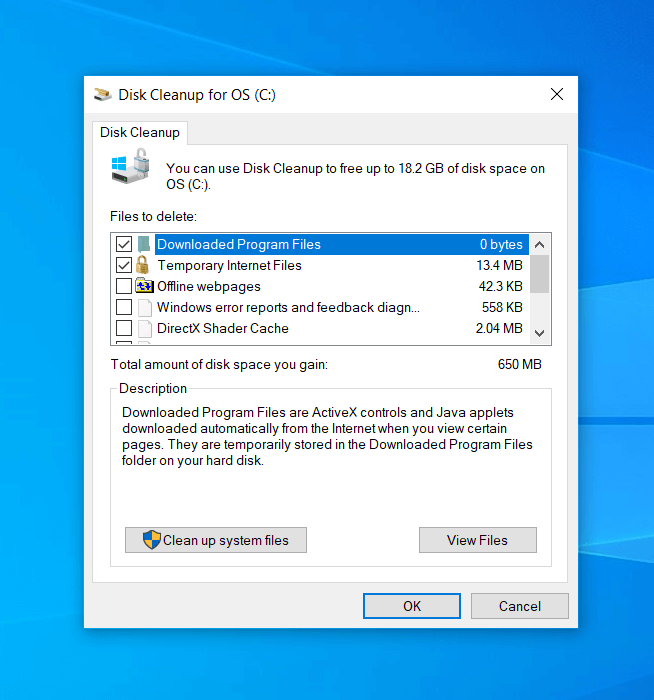
- In the Disk Cleanup window, select the required checkboxes, including Recycle Bin, Temporary Files, Thumbnails, Delivery Optimization Files, and Temporary Internet Files.
- Click
OKto initiate the cleanup process.
Manual Cleaning
This method involves removing unnecessary cached files to enhance the system's performance. Follow these steps.
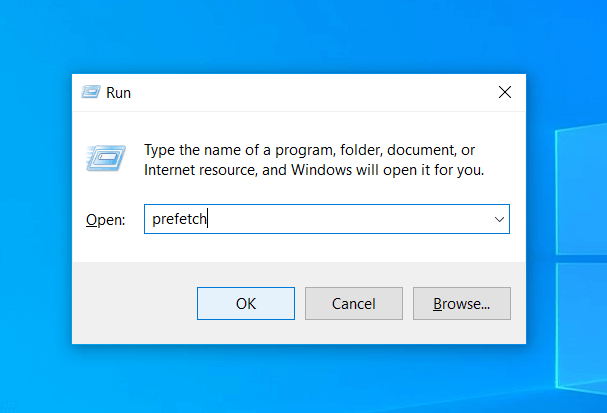
Firstly, open the Run window, type prefetch, and click OK.
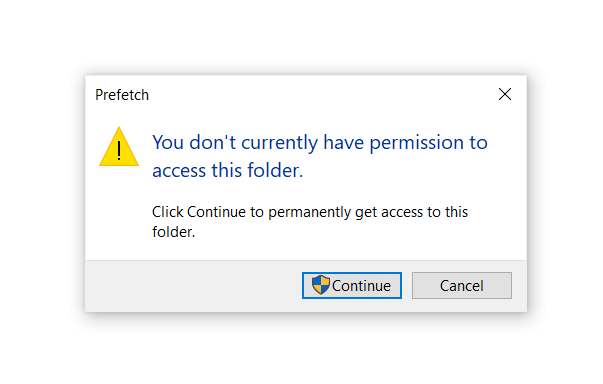
The system will prompt you for permission. Click Continue.
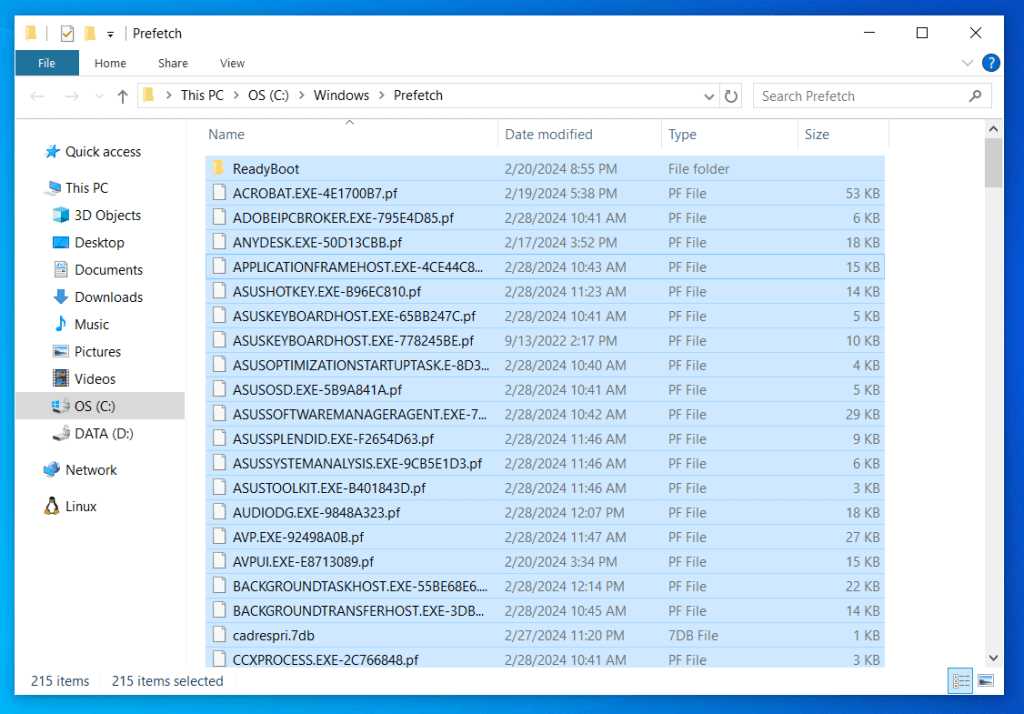
The prefetch folder will be opened. Select all files by pressing Ctrl + A and delete them permanently by pressing Shift + Delete.
Next, open the Run window again, type temp, and click OK. Once again, the system will prompt you for permission. Click Continue.
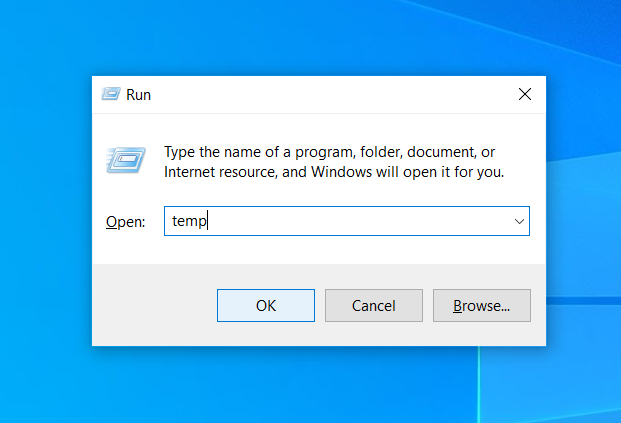
This action will open the Temp folder. Select all files by pressing Ctrl + A and delete them permanently by pressing Shift + Delete. The Temp folder contains the leftover files from various applications; clearing them improves system speed.
After that, reopen the Run window, type %temp%, and click OK.
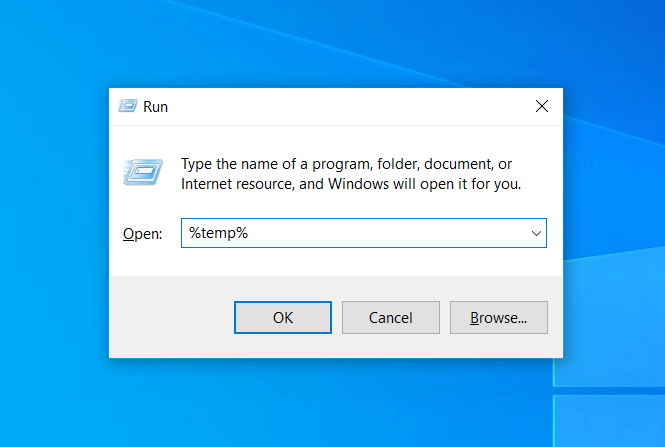
This action opens a Temp folder containing encrypted junk files. Similarly, select all files and delete them permanently. During the process, some files may not be deleted because they are in use by applications; you can skip those.
Storage Sense
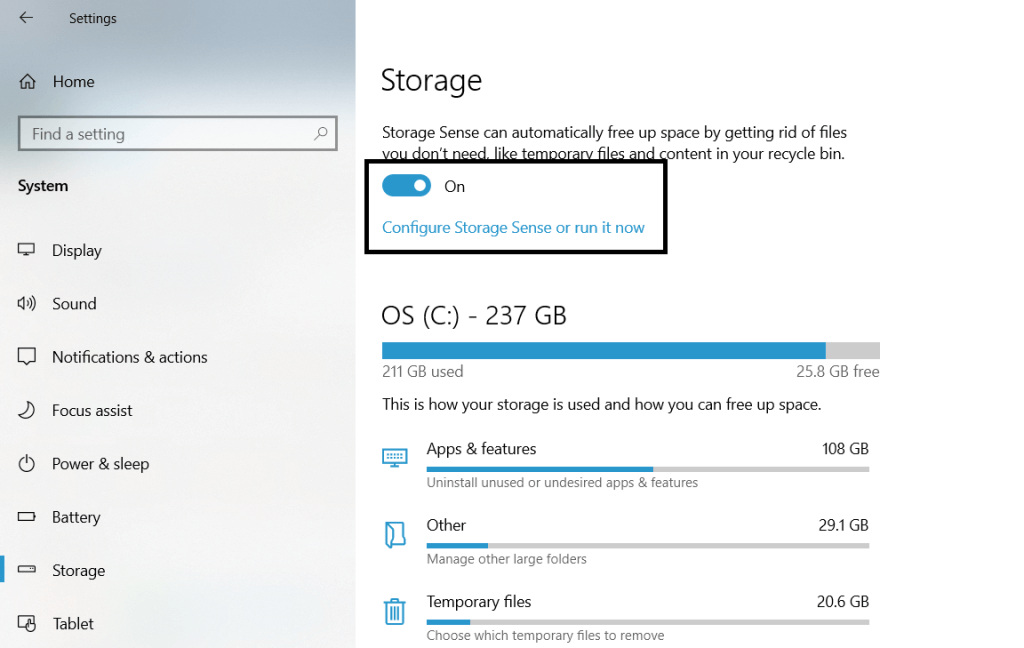
In Windows 10 & 11, you can utilize Storage Sense to automatically free up space by removing unnecessary files such as temporary files and content in your recycle bin. Here is how:
1. Access Storage Sense
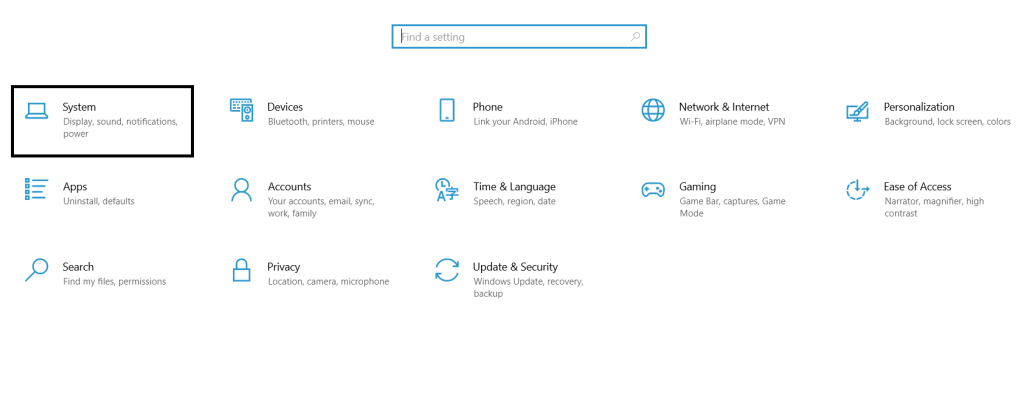
- Go to Settings and select System and then Storage.
2. Turn on Storage Sense
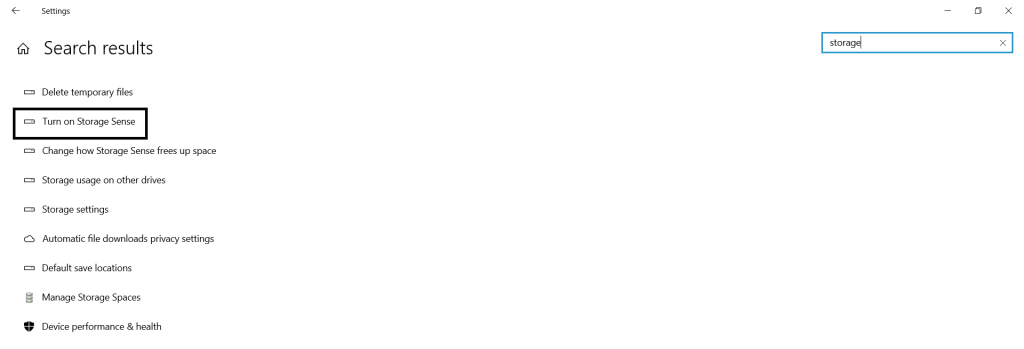
- Toggle on Storage Sense.
- You can customize the settings to specify how often it should clean up Junk files.
I hope you all get to know the methods to clear the Cache & Junk files from Windows. I shall meet you all soon with more exciting content.
Visit the previous guide about how to play MOV files on Windows 10?
Author of Get Basic Idea / Undergraduate at University of Moratuwa.
